Microwave owen was thrown away immediately, and for that place we got nicely space for food items. Also two other shelves were manufactured.

Locker for clothes
Unused space in the upper corner of mid cabin. Therefore a project Cloth Locker was launched.
First, make the locker from plywood:

Then, try it in its place:

Finalize with cell foam and leatherette, using spray glue:
 |
| First, cell foam, then leatherette for insides |
 |
| Finally, leatherette for outsides |
More lockers
During winter time, it is perfect time to prepare some insides. Bayliner 265 is a pocket cruiser, so there is limited amount of storaging space. But unused space can be founded. First thing is to manufacture one relatively large shelving with railings inside bow box.
Another good unused space can be founded under the lower step. This step can be opened in order to reach water pump and its connections. Very good space for a removable locker for dog food and other dog items. Our new family member, mini schnauzer Lenni arrived for us during Christmas time.
 |
| Shelf template inside bow box, cutting it correctly. |
 |
| Under the upper step, already well thinked space for the litter bin. |
 |
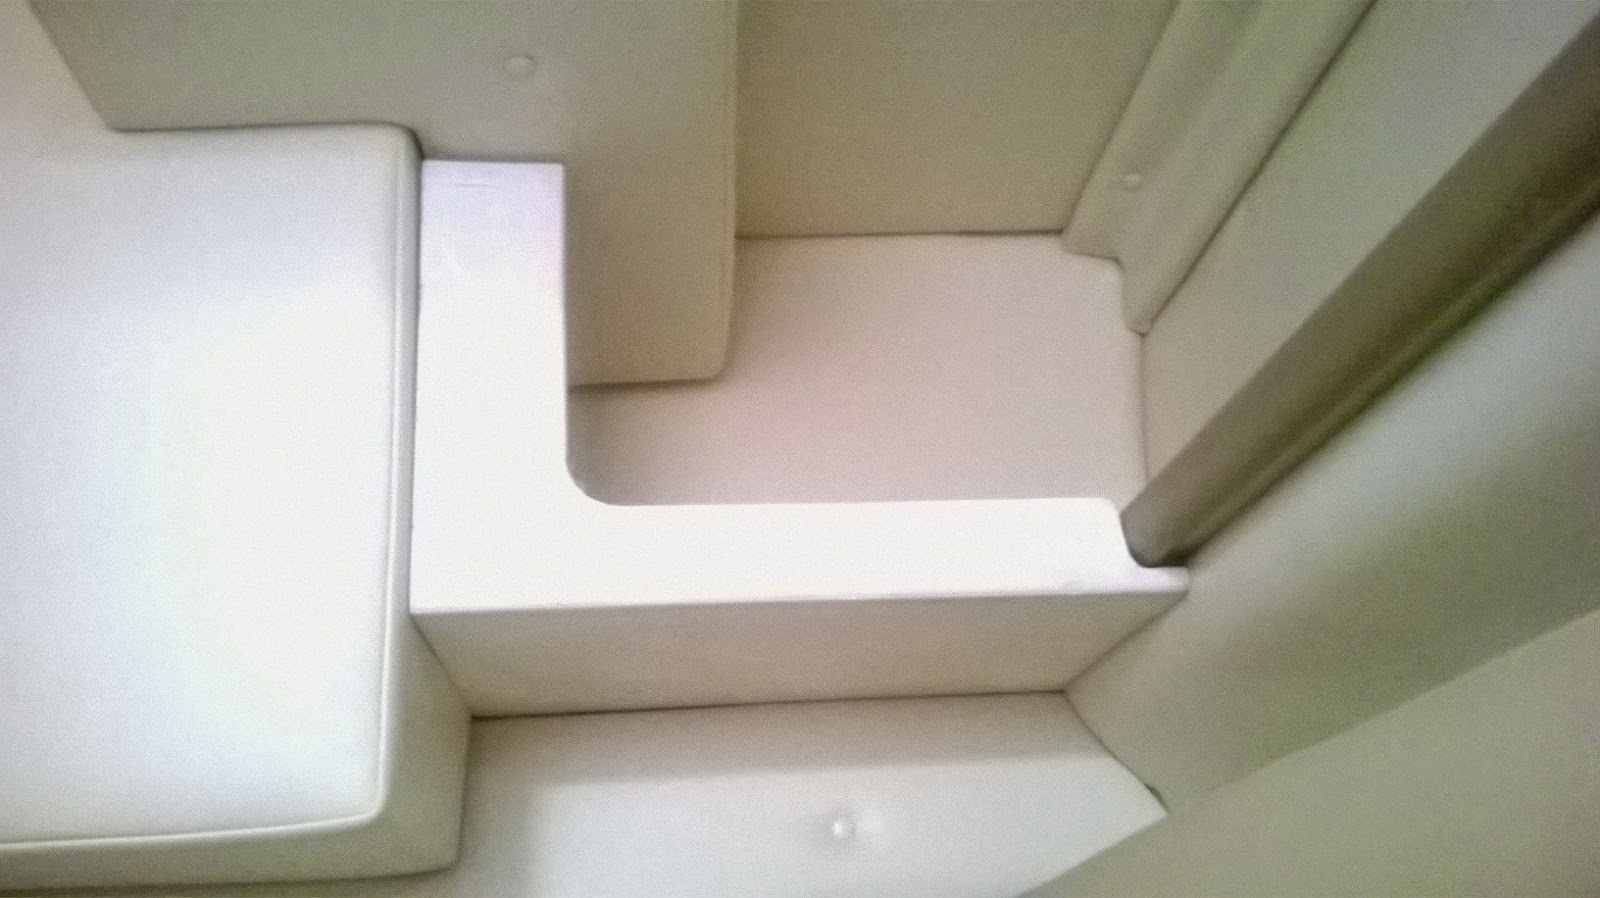
| Under the lower step nothing, perfect place for a removable locker. |
Now they are ready:
 |
| Locker for dog items |
 |
| One corner piece needed, and removable locker is sitting steadily |
 |
| Shelf inside bow box |
 |
| New lamp for late evenings |
New style for steps
Our dog paws were slipping on original steps, so I changed these for Isiteek. Also narrow strip of Isiteek was glued on doorstep.
TIP: the original edge strip is placed lower than edge of the plywood. Edge of Isiteek would be quite ugly with this. Before glueing Isiteek, I used router to trim upper edge off from plywood, then after gluing I cut gently lower edge out from Isiteek. Here you can apply caulk, then use sandpaper and make nice upper edge for Isiteek, then glue back the original edge strip for step.


 |
| Finished! |
Ei kommentteja:
Lähetä kommentti